A Practical Guide to Foundation Mix Concrete in the UK
A Practical Guide to Foundation Mix Concrete in the UK
Think of foundation mix concrete as a precise recipe for strength. It's not just grey sludge; it’s a carefully balanced combination of cement, aggregates, and water that forms the backbone of any structure. Getting this recipe right is the difference between a shed base that lasts a lifetime and one that cracks after the first winter.
Building Your Foundation: Understanding the Basics
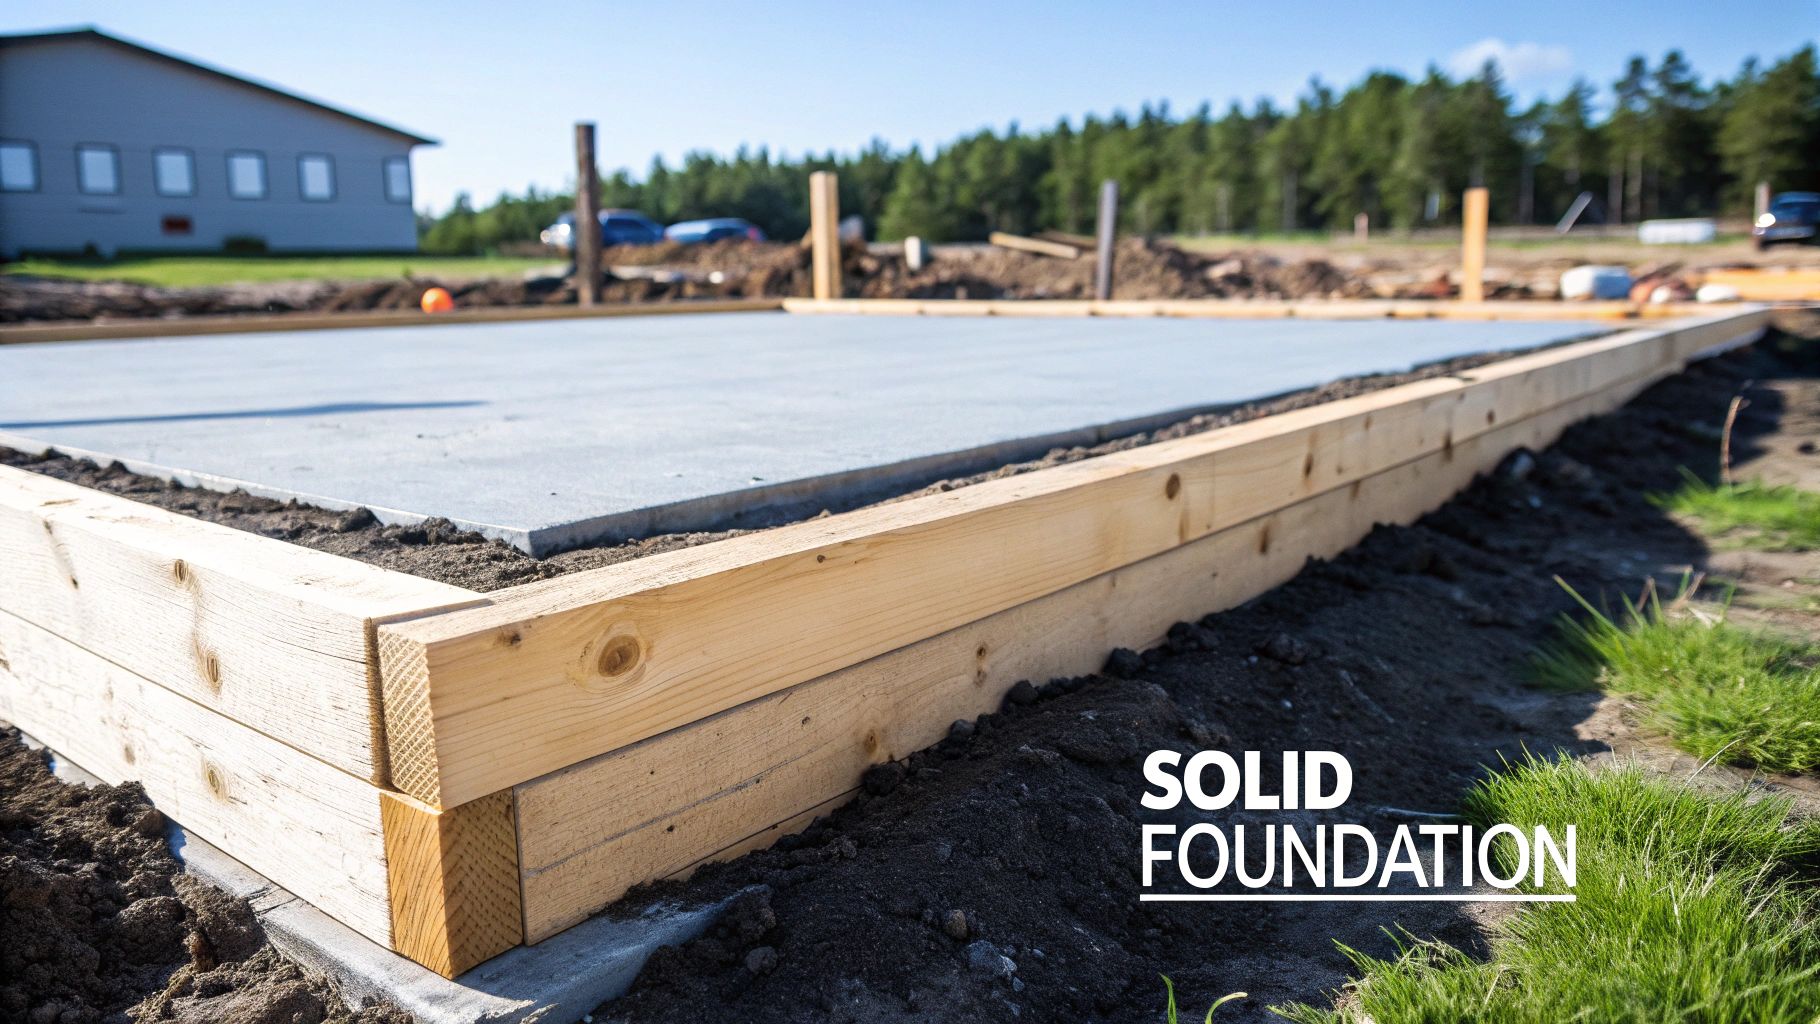
The strength and longevity of any building, from a garden wall to a house extension, begin long before the first brick is laid. It starts beneath the ground with a solid foundation, and the hero of that story is the concrete mix itself. Getting to grips with the core components is the first step towards a successful project.
A foundation mix isn't just a random blend; it's a science. The ingredients work in harmony to create a material that can withstand immense pressure.
- Cement: This is the binding agent, the "glue" that holds everything together. When mixed with water, it kicks off a chemical reaction called hydration, which causes it to harden and gain strength.
- Aggregates: These are the fillers—typically sand (fine aggregate) and stone or gravel (coarse aggregate). They provide the bulk and compressive strength of the concrete, making up a massive 60-75% of the total volume.
- Water: This is the catalyst. It activates the cement and makes the mix workable, allowing you to pour and shape it before it sets hard.
The Importance of the Right Proportions
The ratio of these ingredients is everything. Too much water weakens the final product, while incorrect aggregate ratios can lead to a porous, brittle foundation. A standard, reliable mix for most residential foundations, such as footings or shed bases, often follows a ratio of 1 part cement, 2 parts sand, and 4 parts coarse aggregate.
This balance ensures the mix has enough workability to be poured effectively but possesses the high compressive strength needed to support a structure for decades. It’s a foundational principle that underpins all successful concrete work.
Of course, a great mix needs a great base to sit on. Proper site preparation for construction lays the groundwork for a solid foundation, ensuring the ground is stable and ready to receive the concrete.
The type and quality of the aggregates used are also vital. For a deeper dive into one of the most common materials used, check out our guide on Type 1 aggregate. Getting these early stages right prevents costly mistakes and ensures your structure stands firm for years to come.
Choosing the Right Concrete Grade for Your Project
Picking the right foundation mix concrete can feel a bit like learning a new language. You'll hear terms like C10, C20, and C25 thrown around, but what do these codes actually mean for your job? Getting your head around this is the key to laying a solid foundation that does exactly what you need it to, without wasting money.
Think of concrete grades as a simple strength rating. The 'C' stands for Compressive strength, and the number tells you the minimum force, in Newtons, that a one-square-millimetre block of the concrete can take after it’s been left to cure for 28 days.
So, a C25 mix is built to withstand 25 Newtons per square millimetre (N/mm²). It sounds technical, but it’s a straightforward guarantee of its performance. Pick a grade that's too weak, and you risk serious structural problems down the line. Go too strong, and you’re just pouring money into the ground for no good reason.
Matching Concrete Grades to Common UK Projects
Different projects have completely different demands. You wouldn't use the same mix for a simple garden path as you would for the foundations of a new house extension. Let's break down the common grades and where they fit in.
- C10 Concrete: This is a fairly lightweight mix, ideal for non-structural jobs. Think of it for projects where you just need a level, solid base rather than something that has to bear a heavy load. It's spot-on for patio bases, garden paths, and drainage work.
- C20 Concrete: A definite step up in strength, C20 is a great all-rounder. It’s tough enough for domestic driveways and garage floors that will handle cars and light traffic. A lot of DIYers also grab it for shed bases or workshop floors.
- C25 Concrete: Now we're getting into serious structural territory. C25 is the go-to, and often the minimum required grade, for house foundations, footings, and any reinforced concrete slabs. Its higher strength is essential for safely supporting the massive weight of a building.
The UK's ready-mixed concrete sector, a massive £3.6 billion industry, is what makes getting these standardised mixes possible. It means when you order a C25 mix, you know you're getting a product that hits the exact required strength.
Choosing the right grade isn't about finding the "strongest" concrete. It's about matching the strength to the job. C25 is perfect for a house foundation, but using it for a garden path is like using a sledgehammer to crack a nut – it’ll work, but it’s total overkill and an unnecessary expense.
UK Concrete Grades: A Practical Comparison
Seeing the different grades side-by-side really helps clear things up. The mix ratio—the proportion of cement to sand to coarse aggregate—is what determines the final strength. While ready-mix deliveries are batched precisely by computer, these ratios give you a good idea of what's going into your concrete.
Here's a quick comparison table to help you visualise the differences.
| Concrete Grade | 28-Day Strength (N/mm²) | Typical Mix Ratio (Cement:Sand:Aggregate) | Common UK Applications |
|---|---|---|---|
| C10 | 10 | 1:3:6 | Kerb bedding, non-structural pathways, blinding |
| C20 | 20 | 1:2:4 | Domestic driveways, garage bases, internal floor slabs |
| C25 | 25 | 1:1.5:3 | House foundations, extension footings, trench fill |
This table covers the most common scenarios you’ll encounter in residential and light commercial work.
For projects in more remote or agricultural settings, the requirements can be a bit different. If that's you, this excellent guide to rural concrete mixes is worth a read. Ultimately, getting the grade right from the start is the best way to ensure your foundation is both safe and cost-effective.
How to Accurately Calculate Your Concrete Volume
Running out of foundation mix concrete halfway through a pour is a classic DIY nightmare. It’s the sort of mistake that can put your whole project at risk. On the flip side, over-ordering leaves you with a hefty bill and a pile of waste to sort out.
Luckily, figuring out the right amount is pretty straightforward once you know the basic formula. Getting this number right is the most important part of your planning. It saves stress, time, and money, and guarantees a continuous pour – which is absolutely vital for the strength of your foundation.
The only formula you really need is a simple one:
Length (m) x Width (m) x Depth (m) = Volume (m³)
This quick calculation tells you the total volume you need to fill, measured in cubic metres (m³). Just make sure you measure everything in metres to get the right answer.
From Theory to Practice: A Worked Example
Let’s put this into practice with a common project: laying a concrete base for a garden shed. Say your base needs to be 3 metres long, 2 metres wide, and 0.1 metres deep (that’s 100mm).
Here’s the maths:
- 3m (Length) x 2m (Width) x 0.1m (Depth) = 0.6 m³
Simple as that. You need exactly 0.6 cubic metres of concrete to fill the shuttering for your shed base. This bit of arithmetic is the bedrock of every successful pour, from a single fence post to a huge driveway. For a more detailed guide, check out our tips on calculating concrete volume for your project.
The Professional Tip: Always Add a Contingency
While your maths might be perfect, the ground you're pouring onto rarely is. You’ll always have uneven patches, slight bulges in the timber formwork, or even a few spills that use up more concrete than you planned for. This is precisely why the pros always add a bit extra.
A standard safety margin is to add 10% to your calculated volume. This small extra amount provides a crucial buffer, ensuring you don’t get caught short at the most critical moment of the pour.
So, for our shed base example, it looks like this:
- Calculated Volume: 0.6 m³
- Contingency (10%): 0.06 m³
- Total Order Volume: 0.66 m³
Trust us, taking this one simple step is one of the biggest things that separates an amateur job from a professional one. It’ll save you a world of pain for a very small extra cost.
Converting Volume to Materials
Once you’ve got your total volume, you need to work out how much cement, sand, and aggregate that actually translates to. This is where your chosen concrete grade comes in, because the mix ratio dictates the quantities of everything.
This chart shows which grade is typically used for which job here in the UK.

As you can see, the stronger grades like C25 are essential for things that need to bear a lot of weight, like house foundations, while the lower grades are fine for lighter-duty jobs.
As a rough rule of thumb for a general-purpose C20 mix (a 1:2:4 ratio), you'll need approximately:
- Seven 25kg bags of cement
- 145kg of sharp sand
- 290kg of coarse aggregate (gravel or stone)
These quantities will give you roughly 0.25 m³ of concrete. For our 0.66 m³ shed base, you’d have to scale everything up. It’s at this point you can see why, for anything bigger than a small job, ordering ready-mix concrete is often the much more practical and cost-effective choice.
Getting Stuck In: A Guide to Mixing and Pouring Your Concrete
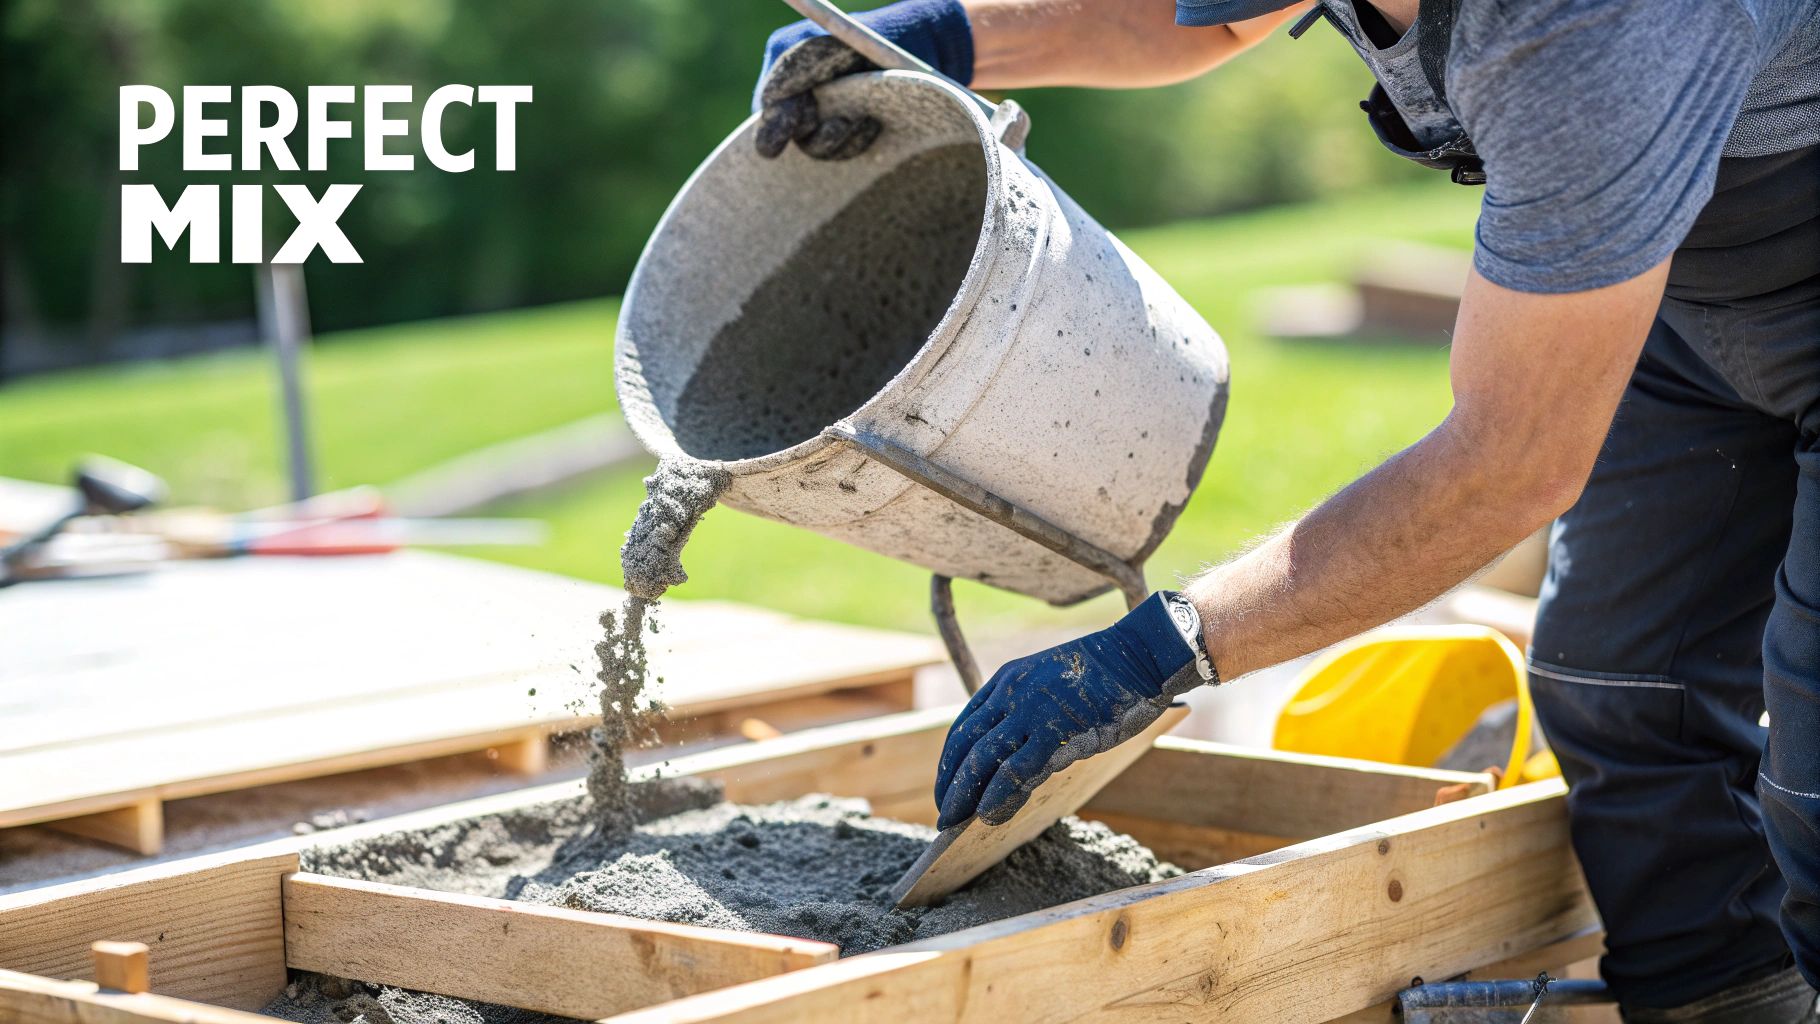
Right, the calculations are done and your materials are piled up on site. This is where the real work begins – turning that heap of sand, stone, and cement into a solid, dependable structure.
Getting the perfect foundation mix concrete is part science, part art. It doesn't matter if you're mixing a small batch by hand for a fence post or firing up the mixer for a proper foundation pour; the aim is always the same. You're looking for the ideal workability: a mix that’s strong and consistent, yet fluid enough to pour and finish without a fight.
Think of a thick, smooth porridge. That’s the sweet spot. It should hold its shape on a shovel but still flow nicely into every nook and cranny of your formwork.
Prep Work: Get Set for a Safe and Smooth Mix
Before a single drop of water hits the cement, you need to get organised. A chaotic workspace isn't just slow and frustrating; it's dangerous. Wet concrete is seriously alkaline and can give you nasty chemical burns, which means your Personal Protective Equipment (PPE) is an absolute must-have.
Get this gear sorted before you start:
- Waterproof Gloves: Your hands are front and centre, so protect them from burns.
- Safety Goggles: Concrete has a habit of splashing where you least expect it.
- Wellington Boots: Essential for keeping your feet and lower legs protected during the pour.
- Long Sleeves and Trousers: Keep all your skin covered.
Once you’re kitted out, get your mixing area ready. If you’re mixing by hand, grab a wheelbarrow or a mixing board and put it on a stable, level patch of ground. If you’ve got a cement mixer, place it as close as you can to your aggregate piles and your water supply. You’ll thank yourself later.
Nailing the Perfect Concrete Consistency
If there’s one rookie mistake that ruins concrete, it’s adding too much water. It definitely makes mixing easier, but all that extra water seriously weakens the final strength of the concrete. The trick is to add it slowly, bit by bit, until you hit that magic consistency.
Hand-Mixing for Small Jobs (Like Fence Posts)
- Measure out your sand and aggregate, tipping them onto your mixing board or into the barrow.
- Give the dry ingredients a proper mix until the colour is totally uniform.
- Make a crater in the middle of the pile, add your cement, and mix it in thoroughly.
- Make another crater and pour in about half of the water you think you'll need. Start folding the dry mix into the water with your spade.
- Keep adding small amounts of water, mixing well after each go, until you've got that perfect porridge-like texture.
Using a Cement Mixer for Foundations
For any decent amount of foundation mix concrete, a mechanical mixer is non-negotiable.
- Switch the mixer on and pour in about half of your water.
- Add all of the coarse aggregate (your gravel). Letting this swill around first helps to clean the drum and stops the dry stuff from sticking.
- Slowly add the sand, and then the cement.
- Add the rest of your water bit by bit until the mix looks right. Let it churn for at least 3-5 minutes to make sure everything is completely combined.
A key bit of advice: You can always add a bit more water if it's too dry, but you can’t take it out if it’s too wet. The only way to fix a sloppy mix is by adding more cement and aggregates in the correct ratio, which is a massive headache you don’t need.
Pouring and Finishing Your Foundation
With the mix ready to go, it’s time to pour. You need to work efficiently here, because concrete starts setting the moment water is added.
First, lightly dampen the inside of your formwork and the sub-base with a hose or watering can. This simple step stops the dry timber and ground from greedily sucking the moisture out of your concrete, which can weaken it.
Start pouring the concrete at the furthest point from you and work your way back. Spread it out as you go with a shovel or a rake, pushing it into all the corners.
Next, you need to get rid of any trapped air bubbles – these create weak spots. Grab a solid piece of timber and tamp the concrete by jabbing it up and down through the mix. Pay extra attention to the corners and edges. You’ll literally see the bubbles coming to the surface.
Finally, get it level. Lay a straight-edged piece of timber across the top of your formwork. Now, using a back-and-forth sawing motion, screed the excess concrete off the top. This leaves you with a flat, smooth finish, and a foundation that’s solid, level, and ready to start curing.
Why Curing Concrete Is the Secret to Lasting Strength
Pouring your foundation mix concrete isn't the finish line; it’s just the halfway point. The real magic, the part that gives concrete its incredible long-term strength, happens next in a process called curing. Getting this stage wrong is one of the most common and costly mistakes you can make on any project.
Think of it like slow-cooking a tough cut of meat until it's perfectly tender. The chemical reaction that hardens concrete, known as hydration, needs just the right environment—consistent moisture and temperature—to work its magic. If the water in your mix evaporates too fast, the cement never gets a chance to fully hydrate. What you're left with is a weak, brittle foundation that's a ticking time bomb for cracks.
Proper curing is the only way to make sure the concrete reaches the full compressive strength it was designed for, which is measured over a 28-day period.
Simple Curing Techniques for the UK Climate
The famously unpredictable UK weather, with its mix of sun, wind, and rain, makes proper curing even more critical. A warm, windy day can suck the moisture from a fresh slab of concrete in minutes, stopping the hydration process dead in its tracks.
Thankfully, the methods to prevent this are straightforward and effective. Here are the two go-to techniques:
- Covering with Polythene Sheeting: This is the easiest and most popular method by far. As soon as the concrete is hard enough that you won’t leave a mark, lay a plastic sheet over the entire surface. Use bricks or timber to weigh down the edges. This traps the evaporating moisture, creating a humid little microclimate that lets hydration carry on perfectly.
- Regular Misting: On those particularly warm or windy days, lightly spraying the surface with a fine mist of water every few hours can make all the difference. Just be gentle—a powerful jet of water could wash away the surface cement paste, doing more harm than good.
Curing isn't about drying the concrete; it’s about keeping it damp. This controlled moisture is what allows the microscopic crystals inside the cement paste to grow and lock together, forming the dense, rock-solid structure that gives your foundation its strength.
The 28-Day Strength Timeline
Patience is a virtue in construction, and never more so than with concrete. While it might feel solid to the touch within 24-48 hours, your foundation is still in its infancy. It hits about 70% of its final strength after the first week, but that crucial final 30% develops over the next three weeks.
The economic climate can sometimes tempt people to rush things. The UK's ready-mix concrete industry, which supplies most domestic foundation mix concrete, has certainly felt the pressure. Domestic sales saw a sharp 12% drop quarter-on-quarter in early 2026, hitting a 62-year low. You can discover more insights about these UK construction trends on Global Concrete.
Despite these pressures, rushing is never an option. If you start building heavy structures like block walls before the foundation has properly cured, you're introducing stresses it simply isn't ready for. That can lead to permanent weakness and cracks down the line. Respecting that 28-day curing period is the ultimate secret to a foundation that will last a lifetime.
Managing Your Project Logistics and Concrete Waste
A successful foundation mix concrete project is about much more than just the pour itself. It’s the behind-the-scenes coordination that makes all the difference. Smart logistics, covering everything from getting materials on-site to clearing away the mess, are what separate a stressful job from a smooth one. Honestly, planning this stuff properly is just as vital as calculating your volumes or picking the right grade.
One of the first logistical hurdles you'll face is getting your materials. For tiny jobs, like setting a single fence post, nipping out for a few bags of cement and aggregate is fine. But for anything bigger, you’ve really got two main options, each with its own pros and cons.
Sourcing Your Concrete Materials
The choice between ordering loose aggregates or getting a ready-mix delivery usually boils down to the size of your project and how easy it is to access your site.
- Ordering Individual Aggregates: This route gives you total control over your mix ratios. It can be cheaper for medium-sized jobs, but only if you have plenty of space to keep separate piles of sand, stone, and cement. It also means a lot more manual labour.
- Ready-Mix Concrete Delivery: For any decent-sized foundation, this is by far the most efficient way to go. A lorry turns up with perfectly mixed concrete, ready to pour. It guarantees consistency and saves a massive amount of time and effort, but you absolutely need good access for the truck.
You'd be surprised how much material even a standard house foundation needs. UK foundation mix concrete production leans heavily on cement, and its output recently dropped to a historic low of 7.3 million tonnes in 2024—the lowest since 1950. This triggered a 32% surge in imports. To put that in perspective, a single four-bed house requires 3-5 tonnes of cement alone, which really highlights the volume of materials and potential waste you need to manage.
With this amount of material comes the inevitable waste, which needs to be dealt with responsibly.
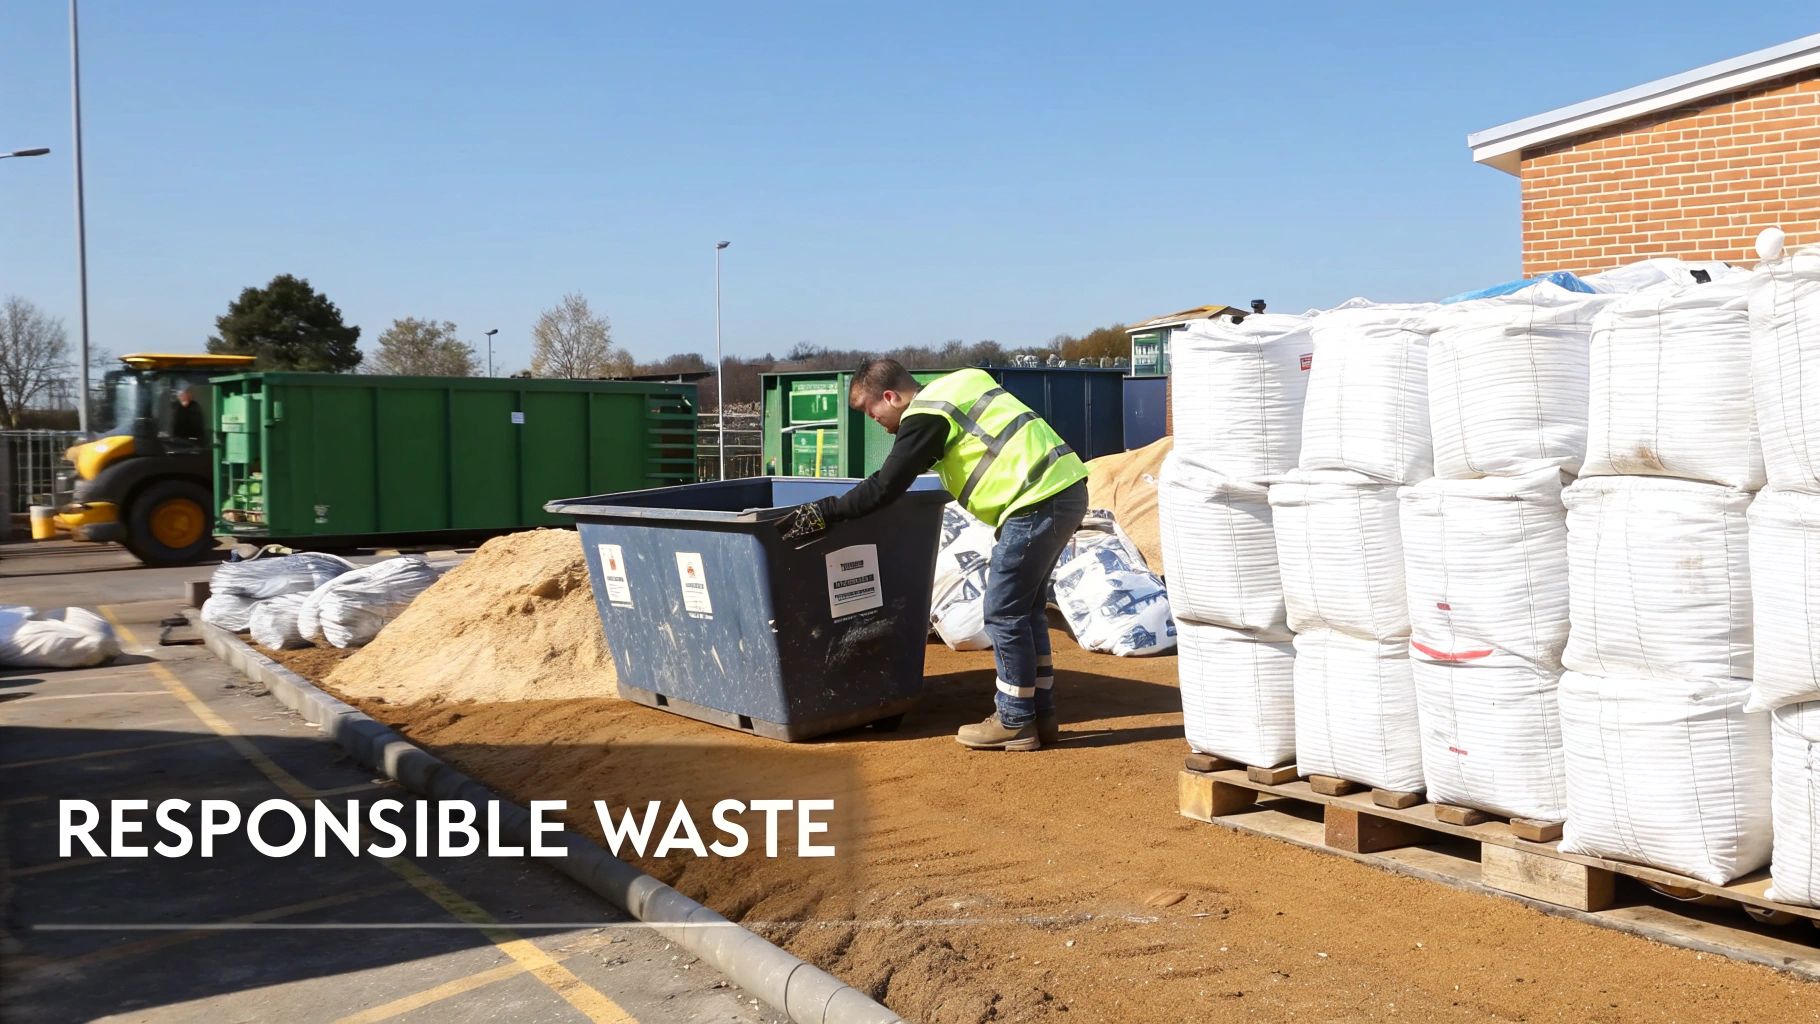
Responsible Concrete Waste Management
No matter how carefully you plan, you're going to have some waste. It could be empty cement bags, leftover aggregates, or hardened chunks of concrete from over-ordering or spills. Getting rid of this waste correctly isn't just good practice; it's a legal requirement in the UK.
Concrete is classified as heavy, inert waste, so you can't just chuck it in the general waste bin. Disposing of it the wrong way can lead to hefty fines and damage the environment. This is where professional waste management is a must. Our guide on how to dispose of concrete gives you more detailed advice on this.
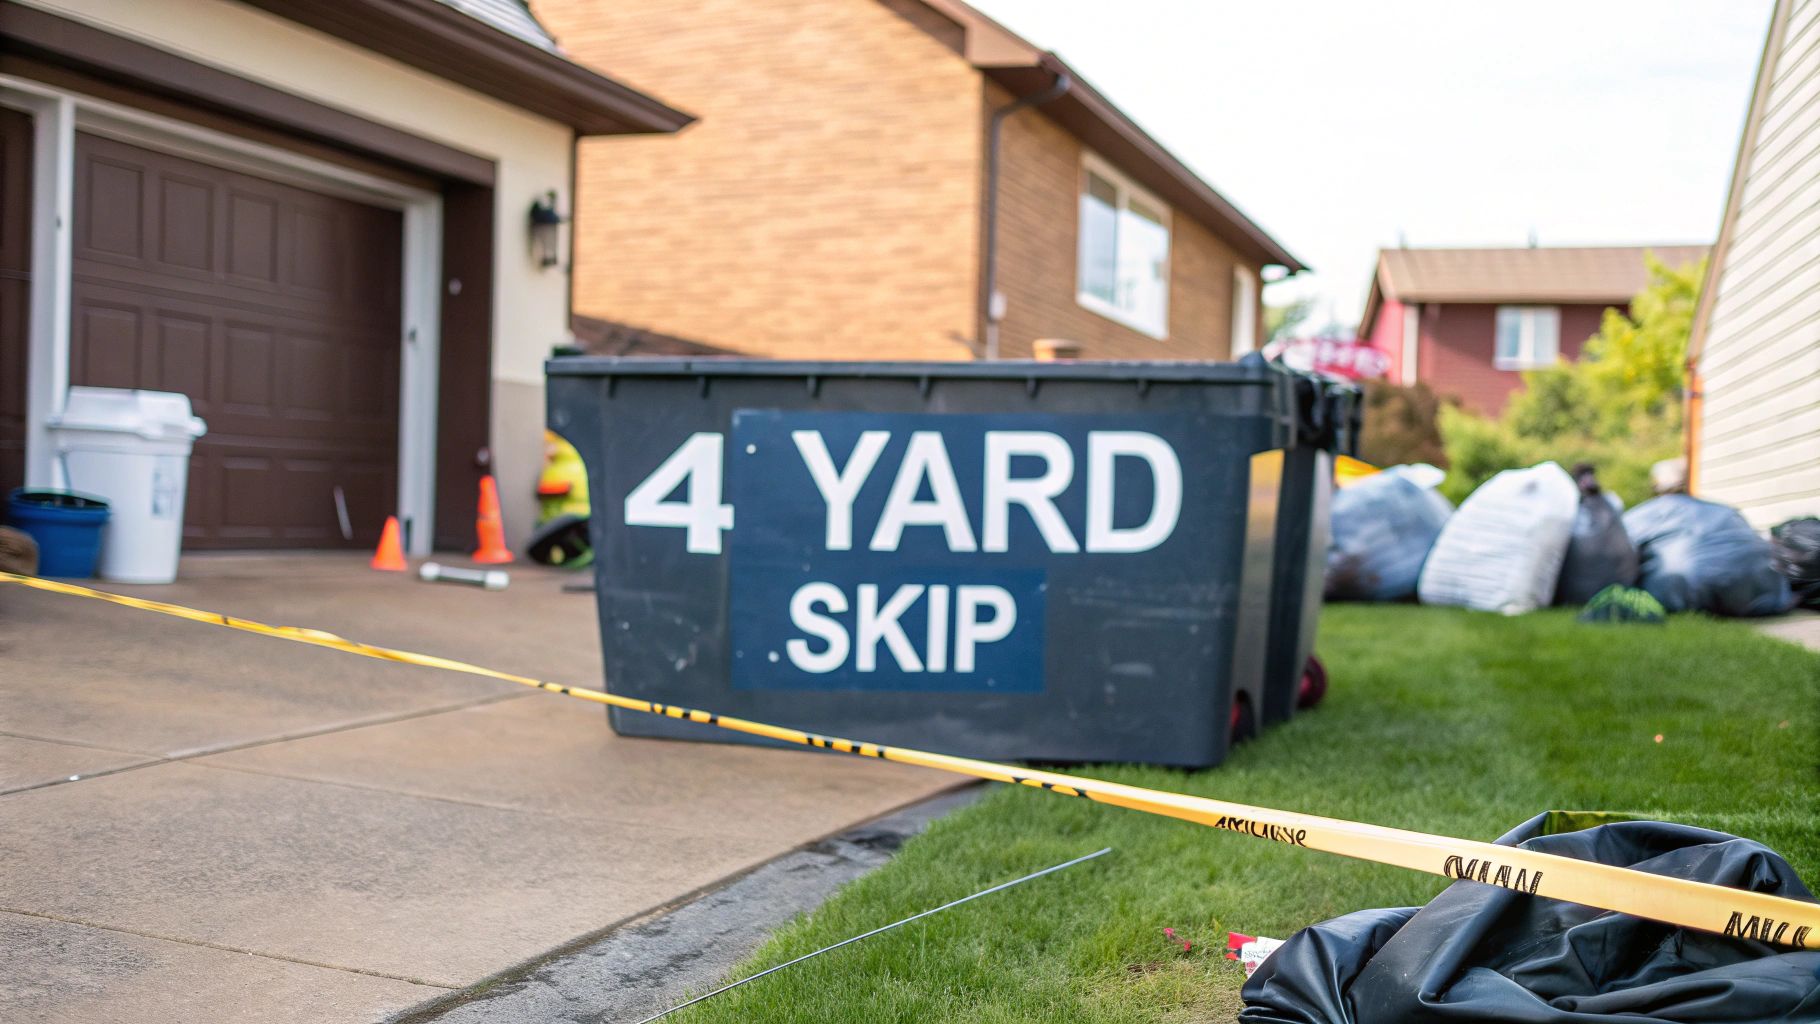
The Role of Skip Hire in Site Clearance
For any project creating more than a small pile of rubbish, hiring a skip is the most practical and compliant solution. A good skip hire company will help keep your site clean, safe, and organised.
When you're choosing a service, think about these points:
- Correct Sizing: Pick a skip that actually fits your expected waste. A 4-yard skip is often fine for small DIY jobs, while bigger renovations might need an 8-yard or even a 12-yard skip.
- Licensed Carrier: Always, always use a company that is a licensed waste carrier. This is your guarantee that your waste is being handled and processed according to environmental regulations.
- Recycling: Ask what they do with the waste. Responsible companies will process old concrete, crushing it down to create recycled aggregates that can be used again in other construction projects, which is great for the circular economy.
By thinking about logistics and waste management right from the start, you set yourself up for a professional result, from the first delivery to the final site clean-up.
Common Questions About Foundation Mix Concrete
Even the most watertight plan can spring a leak once you're on-site with your sleeves rolled up. When you're working with something as critical as foundation mix concrete, getting straight answers to your questions is the only way to keep the project moving. This section is all about tackling those common queries head-on, giving you the practical advice you need to dodge the usual mistakes.
Think of this as the troubleshooting guide for your pour. Getting these points clear in your head before you even open a bag of cement can save you a world of time, money, and stress down the line. It ensures your foundation is built on solid knowledge, not just solid ground.
How Long Before Building on a New Foundation?
This is probably the most important question of all, and the answer is simple: patience. While your fresh concrete might feel rock-solid to the touch within 24 to 48 hours, it's still busy working its magic. Deep inside, a chemical process called hydration is taking place, and this is where the slab gets its real, lasting strength.
It’s a process that happens in stages, with a couple of key milestones to watch for:
- After 7 days: By this point, the concrete has hit roughly 70% of its final design strength. Now is usually a safe time for light foot traffic or maybe starting to put up some lightweight timber framing.
- After 28 days: This is the magic number. After four weeks, the concrete is considered to have reached its full, specified compressive strength. You need to wait for this full curing period before you even think about putting serious loads on it—that means starting blockwork, driving machinery over it, or installing heavy structures.
Jumping the gun is the number one cause of pesky hairline cracks and, far worse, long-term structural weakness. Rushing this stage completely undermines all the hard work you've put in.
Can I Pour Concrete in Rain or Cold UK Weather?
Pouring concrete when the weather turns against you is a massive gamble. Heavy rain is your enemy because it can easily wash away the crucial cement paste from the surface of the mix. This completely throws off the water-to-cement ratio and leaves you with a weak, powdery top layer. If you absolutely have to work in a light drizzle, get that fresh pour covered with polythene sheeting immediately.
Cold weather brings a completely different kind of threat.
We strongly advise against pouring foundation mix concrete when the temperature is below 5°C and still dropping. The water in the mix can freeze, expand, and shatter the concrete's internal structure before it even has a chance to harden. This is known as frost damage, and it's irreversible.
If a cold-weather pour is totally unavoidable, you’ll need to call in the pros. They can use special techniques like adding chemical accelerators to the mix and wrapping the foundation in thermal blankets to protect it as it cures.
How Do I Fix a Mix That Is Too Wet or Dry?
Getting that perfect consistency—what old hands in the trade call a 'thick porridge'—is absolutely vital for a mix that's both strong and easy to work with. If your mix doesn't look right, you can make adjustments, but you have to be incredibly careful.
If the mix is too dry and crumbly, you can add water, but do it a tiny bit at a time. Add a splash, mix it through completely, and then see how it looks. It's so easy to overdo it, and adding too much water is the quickest way to ruin a batch of concrete.
What if it’s too wet and soupy? The only proper way to fix this is by adding more of your dry ingredients—cement, sand, and aggregate—making sure to keep them in the original ratio you started with. This will soak up that extra water and bring the consistency back to where it should be, without wrecking its strength.
Once your foundation is poured and curing, the final job is always the cleanup. From leftover aggregates and dug-out soil to general site rubbish, managing your waste properly is non-negotiable. For reliable and compliant skip hire to keep your project tidy and safe, The Waste Group has you covered. Find the perfect solution for your waste and get your site cleared.