how to remove asbestos safely: A Homeowner’s Guide
how to remove asbestos safely: A Homeowner’s Guide
Removing asbestos isn't a weekend DIY job; it's a serious task that demands meticulous containment, the right personal protective equipment (PPE), and strict adherence to legal disposal rules. The golden rule is simple: never create dust. This means always wetting down materials before you touch them and staying away from any tools that might break, sand, or otherwise disturb them. Getting this wrong can have devastating, long-term consequences for your health.
Understanding the Real Dangers of Asbestos
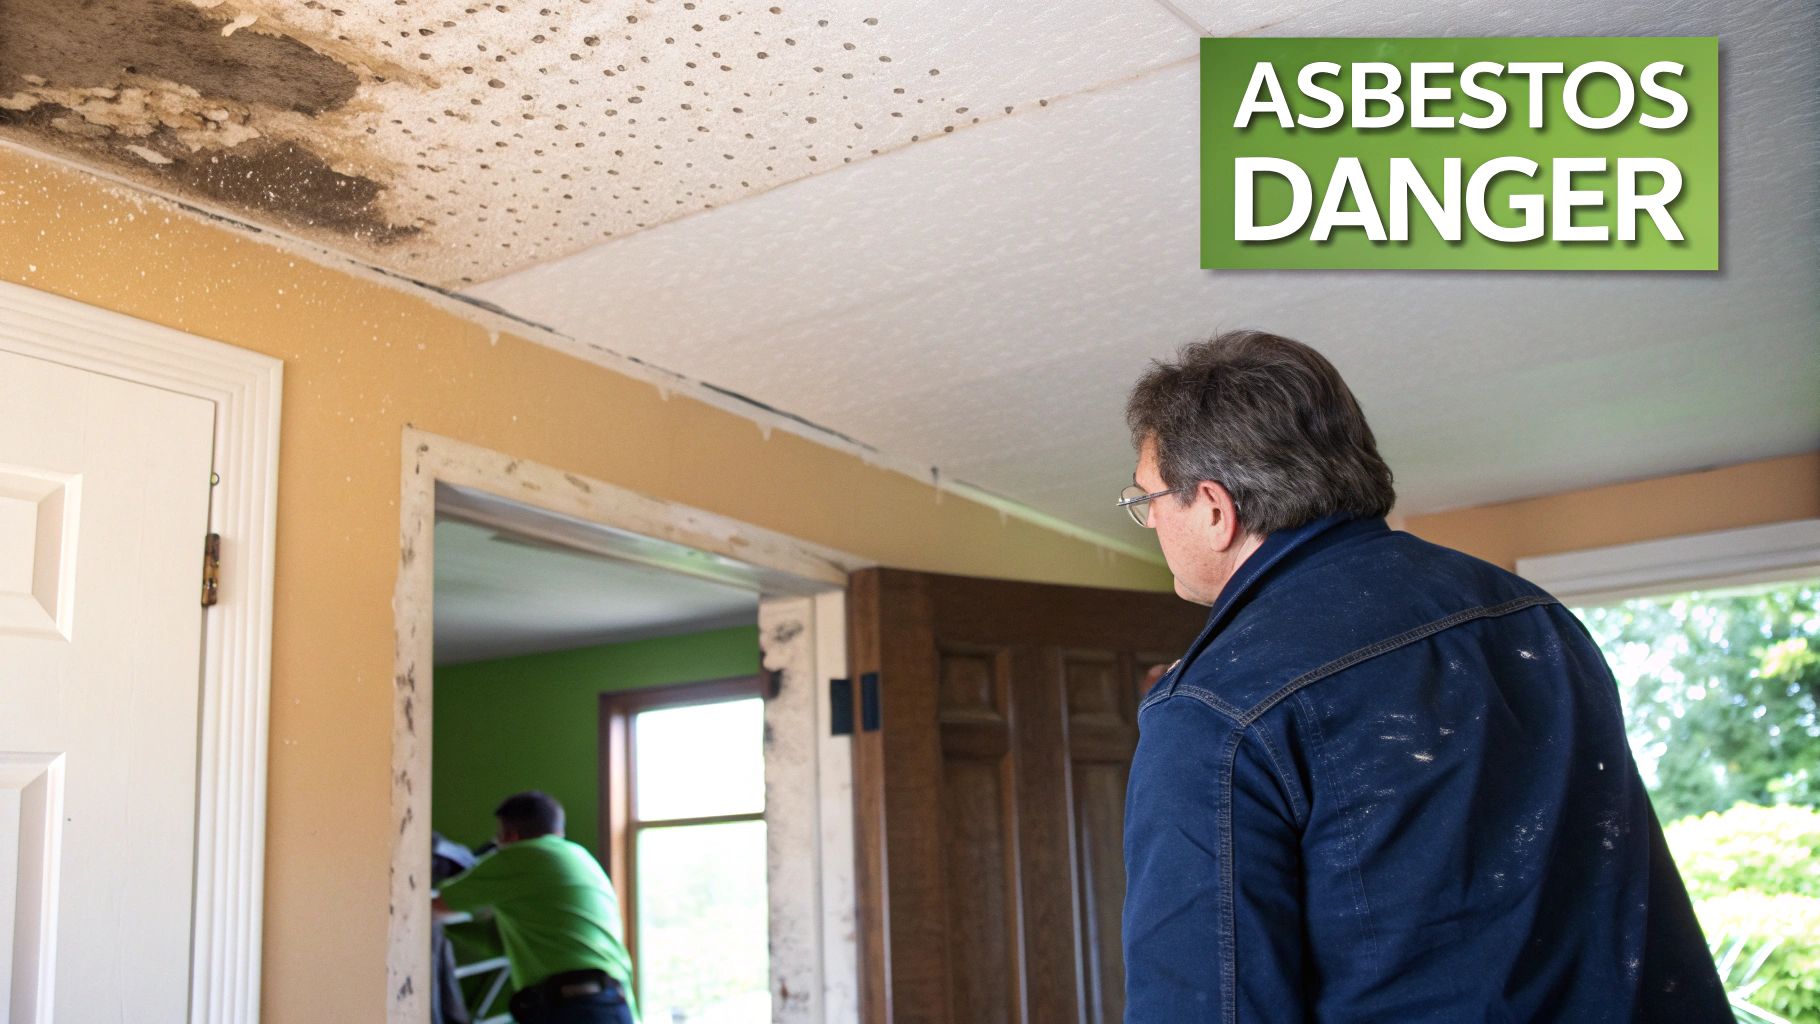
Before you even think about picking up a tool, it's crucial to understand why asbestos removal requires absolute precision. A tiny mistake can release invisible, carcinogenic fibres into the air you and your family breathe.
When these microscopic fibres are inhaled, they can get lodged deep inside your lungs, leading to severe health problems decades down the line. The danger isn't immediate, which can create a false sense of security. But the link between exposure and life-threatening conditions is undeniable. We've put together an in-depth article where you can learn more about the specifics of asbestos-related diseases and their health risks.
Where Does Asbestos Lurk in UK Homes?
If your home was built or had significant renovations done before the year 2000, there's a good chance asbestos is hiding somewhere inside. It was a go-to building material for decades, praised for its incredible insulating and fire-resistant properties.
Common places to find Asbestos Containing Materials (ACMs) include:
- Textured coatings on ceilings and walls (think Artex).
- Vinyl floor tiles and the black adhesive used to stick them down.
- Insulation boards tucked away in partitions, airing cupboards, and around old boilers.
- Cement products like roofing sheets, gutters, and flue pipes.
- Pipe lagging, especially around older central heating systems.
Why Safety Is Non-Negotiable
The threat posed by asbestos is no exaggeration. It’s a major public health issue in the UK because of how widely it was used in the past. It’s estimated that around 1.5 million buildings in the UK still contain asbestos, and it contributes to over 5,000 deaths each year.
This statistic isn't here to scare you, but to encourage a healthy respect for the material. Knowing how to handle asbestos safely is the only way to protect yourself, your family, and your neighbours from entirely preventable harm.
This guide will walk you through the proper steps for non-licensed work. Critically, it will also help you identify when a job is simply too dangerous and you need to call in a licensed professional. Following these procedures isn't just about ticking boxes for compliance; it's about protecting long-term health.
Assembling Your Essential Safety Kit
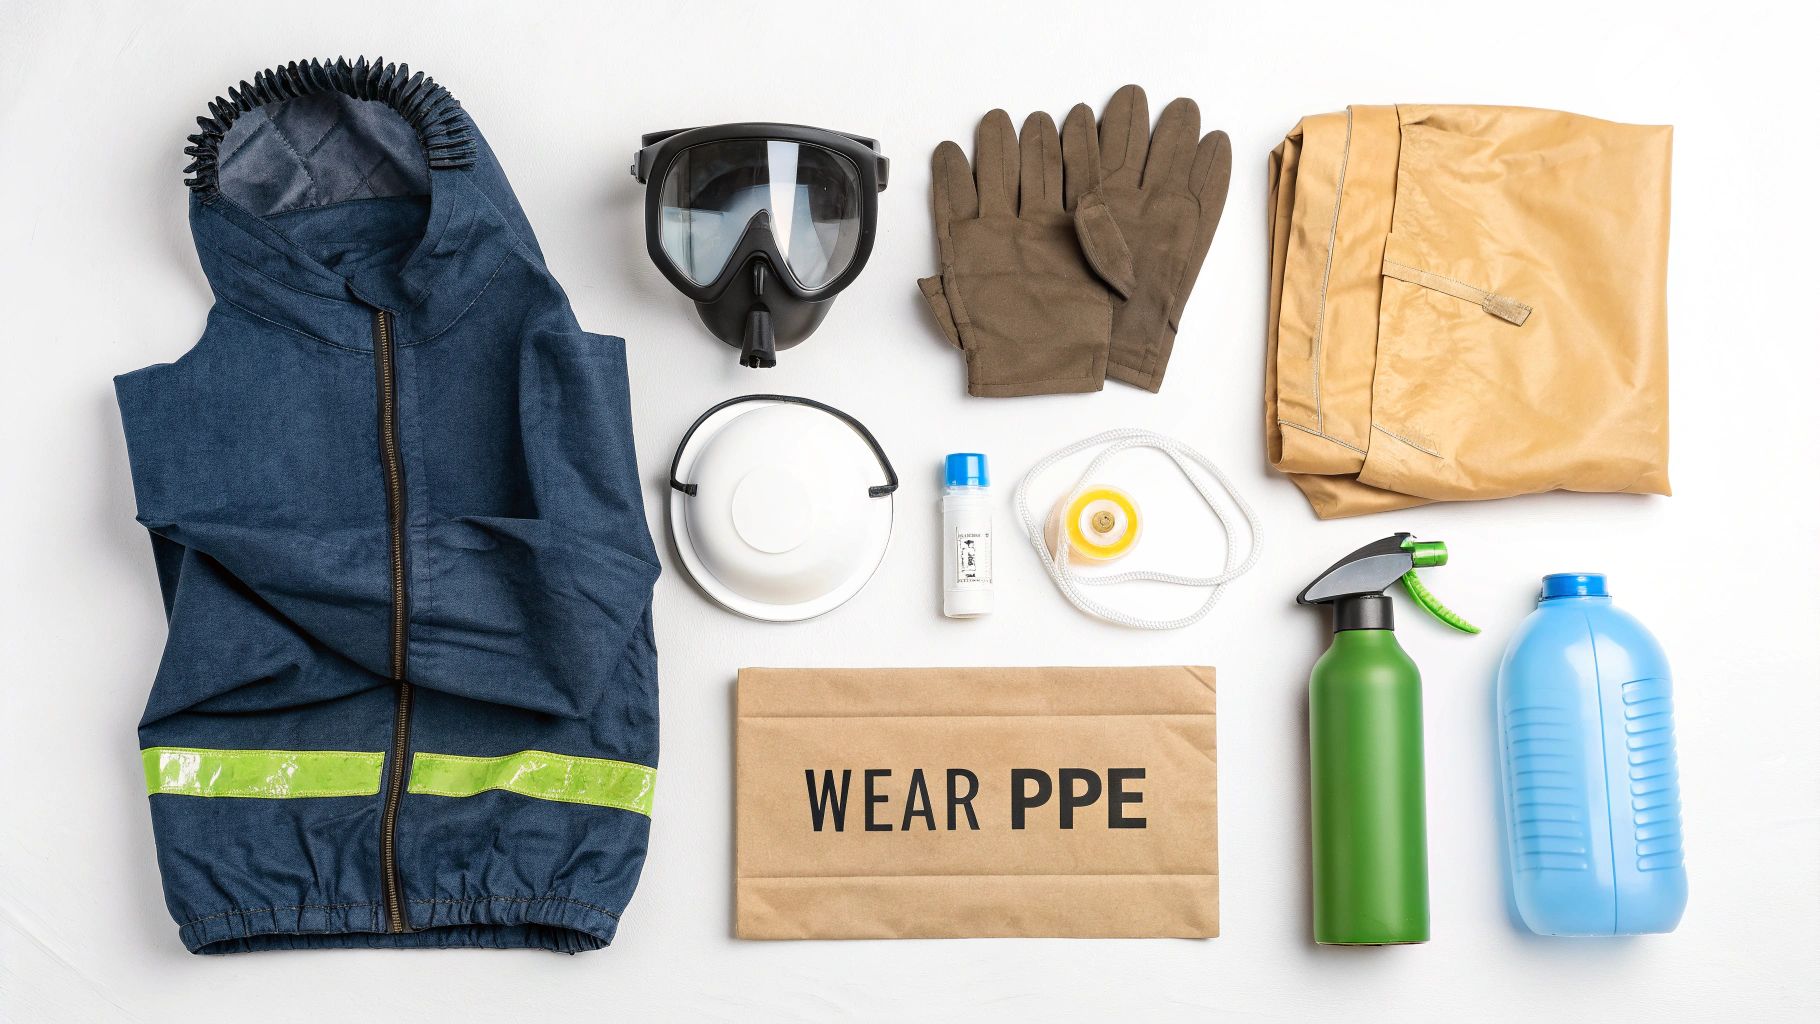
Before a single tool touches a suspect material, you need to be kitted out with the right Personal Protective Equipment (PPE). I can't stress this enough: your safety gear is the only thing standing between you and microscopic, life-altering fibres. Forget about that standard dust mask you'd use for sanding wood; for asbestos, it’s dangerously useless.
Think of your PPE as a personal, sealed environment. Every piece has a job to do, working together to keep those invisible fibres off your skin, out of your hair, and most critically, away from your lungs. Cutting corners here is a gamble with your health that you just don't want to take.
Your Respiratory Protection
This is the most important part of your kit, full stop. The UK Health and Safety Executive (HSE) is crystal clear on this: you must use a respirator with an FFP3 rating for any task involving asbestos. These masks are engineered to filter out at least 99% of airborne particles, catching the tiny asbestos fibres that other masks simply let through.
An FFP3 mask is only effective if it fits properly. You need a tight seal against your face with absolutely no gaps around the nose, cheeks, or chin. If the fit isn't perfect, the mask is useless. It’s why many professionals prefer a reusable half-mask respirator fitted with P3 filter cartridges—they offer a much more reliable and secure fit.
Full Body Coverage
Asbestos fibres are sneaky. They'll settle on your clothes, skin, and hair, ready to be carried out of the work area and into your home. Disposable coveralls are the only way to stop this from happening.
- Look for the Right Rating: You need Type 5/6 coveralls. This standard ensures they are designed to protect against hazardous dust particles and light liquid splashes.
- Get a Hood: Always choose coveralls with an integrated hood. This goes up over your respirator straps to create a complete seal.
- One Job, One Suit: These are strictly single-use. Once the job is done, they get disposed of along with the asbestos waste. Never be tempted to shake them off and use them again.
You'll also need disposable gloves (nitrile is a good choice) and some strong duct tape to seal the cuffs to your coveralls. And for footwear, forget your work boots with laces that trap dust. A pair of simple rubber boots is perfect because they can be easily wiped down and decontaminated when you're finished.
To make things clearer, here's a quick breakdown of the essential PPE you'll need.
Essential PPE for Asbestos Removal
| Equipment Item | Required Specification (UK) | Purpose and Key Feature |
|---|---|---|
| Respirator | FFP3 Rated (disposable) or Half-Mask with P3 Filters | Filters at least 99% of airborne particles, protecting your lungs from inhaling asbestos fibres. |
| Coveralls | Disposable, Type 5/6 Rated with an integrated hood | Prevents fibres from contaminating your skin, hair, and everyday clothing. Single-use only. |
| Gloves | Disposable (e.g., nitrile) | Protects your hands and allows for a sealed connection to the coverall sleeves. |
| Footwear | Non-laced, easily cleaned boots (e.g., rubber wellingtons) | Easy to decontaminate after work, preventing fibres from being tracked outside the work area. |
Having every one of these items on hand and ready to go is non-negotiable.
Essential Tools for the Job
Your personal gear is sorted, but now you need the right tools—and I don't mean your everyday toolbox. Using power tools like sanders, grinders, or drills on asbestos is a huge mistake, as they'll send clouds of deadly dust into the air.
The golden rule for safe asbestos removal is to keep the materials damp at all times. This suppresses dust and stops fibres from becoming airborne. Your best friend here is a simple, low-pressure garden sprayer filled with water and a dash of surfactant (washing-up liquid works well). The soap helps the water soak into the material instead of just rolling off the surface.
Here's what your removal toolkit should contain:
- Heavy-duty polythene sheeting and duct tape to seal off the work area completely.
- A low-pressure water sprayer for wetting the materials.
- Specially labelled asbestos waste sacks. These are typically red, with an outer clear bag for the required 'double-bagging'.
- Damp rags or disposable wipes for cleaning down surfaces as you go.
- Basic hand tools like screwdrivers or a pry bar for carefully dismantling materials.
- Warning tape to clearly mark off the controlled work zone so no one wanders in by mistake.
Getting this all organised before you start is the first, and most crucial, step in the entire process. It means you can work safely and methodically without any interruptions that could risk spreading contamination. Every single item here is part of a system designed to protect you, your family, and your home.
Creating a Safe and Contained Work Zone
Proper containment is the absolute bedrock of a safe asbestos removal project. It's the only thing standing between a controlled job and a hazardous contamination of your entire home.
Think of it as building a sealed bubble around the work area. The goal is simple but non-negotiable: make sure every single asbestos fibre released during the removal stays trapped inside, ready for a safe cleanup. This protects everyone and everything else on your property.
You simply can’t skip this step. Those microscopic asbestos fibres are unbelievably light. They can hang in the air for days, drifting on the slightest current. Without a completely sealed environment, they will find their way into your vents, carpets, and furniture. That creates a long-term hazard that’s much harder, and more expensive, to fix than the original problem.
Isolating the Area from Your Home
Before you so much as touch the asbestos-containing materials, your first move is to cut off the work area's air circulation from the rest of the house. Asbestos fibres travel all too easily through heating, ventilation, and air conditioning (HVAC) systems.
Here’s how to shut it down properly:
- Shut Down Your HVAC System: First, turn off the heating and air con at the thermostat. But don't stop there. Go to your fuse box and switch it off at the breaker. This guarantees nobody can accidentally turn it back on.
- Seal All Vents: Grab some heavy-duty polythene sheeting and cover every single air supply and return vent inside the work zone. Use good quality duct tape to seal all four edges, making sure there are absolutely no gaps.
This is one of the single most effective things you can do to prevent cross-contamination.
A classic mistake we see is a homeowner who remembers to seal the door but completely misses a small air return vent tucked away in a corner. That one oversight is often enough to pull contaminated air into the ductwork, spreading invisible fibres to every room in the house. Always double, and then triple-check every opening.
Constructing the Asbestos Enclosure
With the air systems safely offline, it's time to physically seal the room itself. You'll need thick polythene sheeting – we recommend at least 1000 gauge – and a generous supply of strong duct tape.
Start by laying sheeting across the floor. Let it run up the walls by about 30 centimetres and tape it down securely. This creates a protective barrier over the original flooring. If you have any furniture that absolutely cannot be moved out, it must be thoroughly wrapped and sealed in its own polythene cocoon.
Next up, seal all doorways, windows, and any other gaps. For the main entrance, you’ll need to create a basic airlock system. This usually just means hanging two overlapping sheets of polythene over the doorway. It lets you get in and out while keeping air exchange with the rest of the house to a minimum.
To seriously upgrade your containment setup and protect against airborne particles, you could also look into specialised equipment like advanced powder containment solutions.
Establishing a Decontamination Zone
Just outside the sealed entrance to your work zone, you need to set up a small, clean decontamination area. This is where you'll get into your protective gear and, more importantly, where you'll safely take it off afterwards.
Think of it as a crucial three-stage process:
- Stage 1: The Dirty Area: This is inside the main sealed work zone, where the removal actually happens.
- Stage 2: The Airlock/Wash Area: This is the space just outside the first polythene flap. Here, you'll do the initial clean-down. Keep a damp rag and your bucket of water/surfactant ready to wipe down your coveralls and boots before you take them off.
- Stage 3: The Clean Area: Beyond the second polythene flap, this area must stay completely free of any contamination. It's where you'll keep your clean clothes waiting for you after you’ve safely removed and bagged all your PPE.
Following this methodical approach is what stops you from tracking asbestos fibres out of the containment zone on your clothes, tools, or body.
Once this entire setup is complete, stick clear warning signs on the outside of the sealed area. This is to make sure nobody—family, visitors, or delivery drivers—accidentally walks in and gets exposed to the very hazard you’ve worked so hard to contain.
Safe Removal Techniques for Common Materials
Right, you’ve got your work zone sealed tight and you’re kitted out in all your safety gear. Now the real work begins – the methodical, careful process of removal. The whole game hinges on one simple principle: keeping those asbestos fibres out of the air. This isn’t about speed; it's about deliberate, cautious actions where safety is the absolute priority.
The single most important technique you'll use is the 'wetting method'. Before you even think about moving or touching any Asbestos Containing Materials (ACMs), they need to be properly dampened. This one step is your best defence against airborne dust.
Think of dry asbestos fibres like dandelion seeds – incredibly light and ready to float off with the slightest disturbance. Wetting them down essentially glues them together, making them too heavy to get into the air. It massively cuts down the risk of inhalation while you work.
This section will walk you through the specific ways to handle common ACMs, ensuring you know how to get the job done safely by keeping dust to an absolute minimum.
Preparation is everything when it comes to creating a safe removal environment, as you can see in the diagram below.

This visual shows the essential first steps – shutting down ventilation, sealing the area, and protecting surfaces. You must do all this before any removal work even starts.
Mastering the Wetting Method
Your main tool for this job is a simple, low-pressure garden sprayer. Fill it with water and add a little surfactant – a few squirts of washing-up liquid will do the job perfectly. The surfactant is key because it helps the water soak into the ACM instead of just beading up and rolling off.
Gently spray the surface until it’s visibly damp, but not so much that it's dripping everywhere. You’ll need to re-apply this mixture as you go to make sure the materials stay damp throughout the job.
Crucial Tip: Never, ever use a high-pressure jet sprayer. The force of the water will just blast fibres off the surface, completely defeating the purpose of the wetting method and creating a serious hazard. A gentle mist is all that’s needed.
Handling Specific Asbestos Materials
Different materials need slightly different handling, but the core rules of wetting down and causing minimal disturbance always apply. Aggressive methods are a definite no-go.
Under no circumstances should you ever use power tools. Drills, sanders, grinders, or saws will create a massive, uncontrolled cloud of dangerous fibres. Likewise, avoid breaking, snapping, or crushing materials wherever possible.
Asbestos Cement Sheets (Roofing or Walls)
Asbestos cement is often found in older garages, sheds, and sometimes as wall cladding. It's fairly stable stuff, but it becomes dangerous if it breaks.
- Wet the Surface Thoroughly: Spray the entire sheet, making sure you get plenty around any bolt heads or fixings.
- Use Hand Tools Only: Carefully use a screwdriver or spanner to undo the fixings. Don’t try to hammer them out or force them off.
- Lift, Don't Drag: Once the fixings are out, lift the whole sheet away cleanly. Don’t slide it across other sheets, as this can scrape the surface and release fibres.
- Lower Gently: Carefully place the intact sheet onto a layer of polythene sheeting on the ground, ready for bagging.
Vinyl Floor Tiles and Linoleum
Old vinyl floor tiles, especially the old 9"x9" size, often have asbestos in them. The black mastic adhesive used to stick them down can also be an ACM.
- Wet the Tiles: Lightly mist the surface of the tiles you're working on.
- Pry Carefully: Use a hand scraper or a flat pry bar to gently lift the tiles one by one. The goal is to keep them whole.
- Minimise Adhesive Disturbance: If the black mastic underneath is stubborn, don't resort to aggressive scraping or sanding. Lightly wet it and remove what comes off easily. It’s often safer to leave a thin residue and encapsulate it rather than trying to remove it by force.
Textured Coatings (Like Artex)
Dealing with a textured ceiling coating is a much trickier job that really requires specialist know-how. If the coating is just on a small, manageable board, the best approach is to remove the entire board. For bigger jobs, you might want to read our detailed guide on the safe removal of asbestos ceilings to get a full picture of what’s involved.
Immediate and Correct Bagging Procedures
As soon as a piece of ACM is removed, it must be bagged up straight away. Don't leave it lying around to deal with at the end of the day.
You have to use the correct asbestos waste sacks. These come as a set: a red inner bag with asbestos warnings printed on it, and a clear outer bag.
- Place the removed material directly into the red bag.
- Gently push out any excess air (without creating a puff of dust!), then twist the neck and seal it tightly with duct tape.
- Wipe down the outside of the red bag with a damp rag to catch any stray fibres.
- Place the sealed red bag into the clear outer bag, and seal that one securely with tape as well.
This double-bagging process is a legal requirement and a critical step for containing the waste safely for transport and disposal. Every single bit of waste, from the smallest fragment of a tile to your used coveralls and rags, must go through this exact procedure.
The Final Cleanup and Legal Waste Disposal
Once the last piece of asbestos-containing material is double-bagged and sealed, the job is far from over. This final stage—the deep clean and legal disposal—is every bit as critical as the removal itself. It’s what ensures no stray fibres are left behind to contaminate your home, and that all this hazardous waste is handled by the book.
Rushing this part can undo all your careful work. A single missed surface or a shortcut on the disposal run could lead to the very exposure you've been working so hard to prevent. Let's walk through exactly how to clean up properly and get rid of everything according to UK law.
The Meticulous Cleaning Protocol
First things first: your household hoover is completely out of the question. In fact, using it is dangerously counterproductive. Its filter isn't nearly fine enough to trap microscopic asbestos fibres; it will just suck them up and blast them straight back into the air, spreading contamination everywhere.
You absolutely must use a Class H vacuum cleaner, which is specifically designed for hazardous dust like asbestos. These machines have high-efficiency filtration systems that can safely capture the tiniest of fibres. If you can't hire one, you'll have to rely entirely on wet-wiping.
The cleaning process is a multi-step affair:
- Initial HEPA Vacuum: Carefully vacuum all the polythene sheeting on the walls and floor. The goal here is to pick up any visible debris or dust that has settled.
- Wet-Wipe Everything: Grab a stack of damp rags and wipe down every single surface inside the contained area. This means the polythene on the walls, the floors, and any items you sealed up. After each wipe, fold the rag inward on itself. Never, ever rinse them out—place used rags directly into a designated asbestos waste bag.
- Final HEPA Vacuum: After the wet-wiping is done and the surfaces are dry, go over the entire area a second time with the Class H vacuum. Be thorough and meticulous.
Correctly Handling All Waste
At this point, every single item from inside the sealed zone is considered hazardous waste. That doesn't just mean the bagged asbestos itself. It also includes your used disposable coveralls, gloves, cleaning rags, and all the polythene sheeting you put up.
The rule is simple: if it was inside the containment area, it must be treated as asbestos waste. This includes your PPE, cleaning rags, and the sheeting used to seal the room. Everything must be double-bagged and labelled correctly for disposal.
As you carefully roll up the polythene sheeting, spray it down with water to keep any remaining dust from becoming airborne. It should then be placed into the red and clear asbestos waste bags, just like the actual asbestos materials. Your used PPE should be the very last thing you bag up after you've fully decontaminated yourself and left the area.
Navigating Legal Asbestos Disposal
You absolutely cannot put asbestos waste in your regular household bin or take it to the local tip with your general rubbish. It's classified as hazardous waste and is governed by strict disposal regulations.
The UK's approach to waste is highly regulated to prevent environmental harm. To give you some perspective, in England alone during 2022, the recovery rate for non-hazardous construction waste was an impressive 94.3%. While asbestos is handled under separate hazardous waste protocols, this highlights the stringent framework that ensures materials like asbestos are disposed of safely. You can find more insights into UK waste data over on GOV.UK.
To dispose of your asbestos waste legally, you must find a facility licensed by your local council to accept it. Searching online for "asbestos disposal near me" is a good start, and our guide on finding a local asbestos disposal site provides more detailed information.
Most licensed facilities require you to book a slot in advance. They'll also have specific rules for arrival, such as what vehicle you can use and how the waste must be presented. Following their instructions to the letter is essential for a safe, legal, and hassle-free handover.
Knowing When to Call a Licensed Professional

While this guide is all about handling the kind of non-licensed work you might be able to tackle yourself, it's absolutely vital to know where to draw the line. Stepping over that boundary and attempting a job that legally requires a licensed professional isn't just risky—it's illegal and puts you and your loved ones in extreme danger.
The big decider often comes down to one crucial factor: friability.
Friable asbestos is the term for materials that are soft, crumbly, and easily turn to dust with just hand pressure. Think old pipe lagging or sprayed coatings. These materials shed their deadly fibres with the slightest disturbance, which is why they are far too dangerous for anyone but a highly trained and licensed expert.
This is a non-negotiable safety line in the sand. The risk of sending a cloud of invisible, deadly fibres throughout your home is just too great.
Materials That Demand Professional Removal
Certain Asbestos Containing Materials (ACMs) are strictly off-limits for DIY removal under UK regulations. If you come across any of the following, your only safe and legal move is to pick up the phone and call a licensed contractor.
- Sprayed Asbestos Coatings: Often found on structural steel for fire protection. This stuff is incredibly friable and packed with a high concentration of asbestos.
- Asbestos Insulation Board (AIB): You'll find this in partition walls, ceiling tiles, and soffits. It can look a lot like standard plasterboard but is a world apart in terms of danger.
- Pipe Lagging and Insulation: This is one of the most hazardous forms of asbestos out there. It was commonly wrapped around old pipes in boiler cupboards, cellars, and lofts.
Don't even think about tackling these high-risk materials yourself. A single wrong move, like trying to snap a piece of AIB, can release millions of fibres into the air in an instant. Your entire property could be contaminated before you even realise what's happened. It's a gamble you can't afford to take.
Identifying the Need for Expert Help
Given the UK's long history with asbestos, getting a professional assessment is often the smartest move. It was a go-to material in construction from the 1950s right up until the final ban in 1999.
The legacy of its widespread use is still being felt today. Health statistics show that asbestos-related industrial diseases recorded by coroners in the UK saw a staggering 44% increase between 1995 and 2018.
For bigger, more complicated situations, you might need the expertise of an Occupational Hygienist specialising in asbestos. These are the experts who assess large-scale risks and ensure the absolute highest safety standards are met on complex jobs.
Finding and Verifying a Licensed Contractor
When it's time to bring in the pros, you have to be sure they are the real deal. The Health and Safety Executive (HSE) keeps a public database of licensed asbestos removal contractors, so always check there first.
A genuine professional service will always follow a strict process:
- They'll start with a thorough risk assessment of the site.
- You'll receive a detailed 'plan of work' before they begin.
- The work area will be sealed off in a full enclosure with negative pressure units to contain dust.
- An independent analyst will verify the area is clean and safe after the job is done.
- They'll give you a copy of the waste consignment note, which is your proof that the asbestos was disposed of legally.
Choosing a licensed contractor isn't just about following the rules. It's about peace of mind—knowing the job has been done correctly, safely, and legally, protecting your home and your health for years to come.
Common Asbestos Removal Questions Answered
Can I Legally Remove Asbestos Myself in the UK?
It’s a bit of a grey area, but yes, you can – with some very big caveats. The law allows you to handle certain lower-risk, non-licensed materials yourself. Think of things like asbestos cement sheets (often found on old garage roofs) or old vinyl floor tiles.
The key condition is that they must be in good shape and you can remove them without breaking them up. The moment they become damaged, they're a different beast altogether.
But for high-risk, friable materials – the really nasty stuff like pipe lagging or insulation boards – it's a definite no. These materials crumble easily and release fibres at the slightest touch. For those, you are legally required to bring in a licensed professional. No exceptions.
What is the Biggest DIY Asbestos Removal Mistake?
Without a doubt, the single most dangerous mistake people make is creating dust. It’s so easy to do. Firing up a power tool, sanding a surface, or drilling a hole into asbestos-containing material is a recipe for disaster. This sends a massive cloud of hazardous fibres into the air you’re breathing.
Running a close second is skimping on proper personal protective equipment (PPE). A standard dust mask from the DIY shop is completely useless here. You absolutely must use a correctly fitted FFP3 respirator to stand any chance of protecting your lungs. It's a non-negotiable part of the job.